
Welcome to American Girl Afternoon! Your doll is probably ready to switch out her winter wardrobe for her spring wardrobe, so today we’re making doll hangers to help her get her closet nice and neat.
To make this activity, you will need:
- Super Flexible Wire (*)
- Pliers [You may be able to just use your hands, but pliers will make some of the trickier parts much easier.]
If you picked up a make-and-take kit, all supplies with a (*) are included.
Directions:
- Cut a piece of flexible wire, about 1 foot long. You can use your pliers to snip it off, or scissors if you’re more comfortable with that. If you pick up a make-and-take kit from the library this step has already been completed for you.
- Make a medium-sized loop on one end of the wire.
- Using your pliers, grab the flat part where the loop meets the other side of the wire. Using your hand, bend the loop back over the pliers so it opens back up and forms a hook.
- Put your pliers at the base of the hook and and move the wire up and back so that it sticks out straight to the right.
- Angle the straight piece down about 4 inches and form a bend at the bottom. The wire should now be sticking out straight to the left.
- Go down the wire about 5 or 6 inches and make another bend so that the wire is pointing upward.
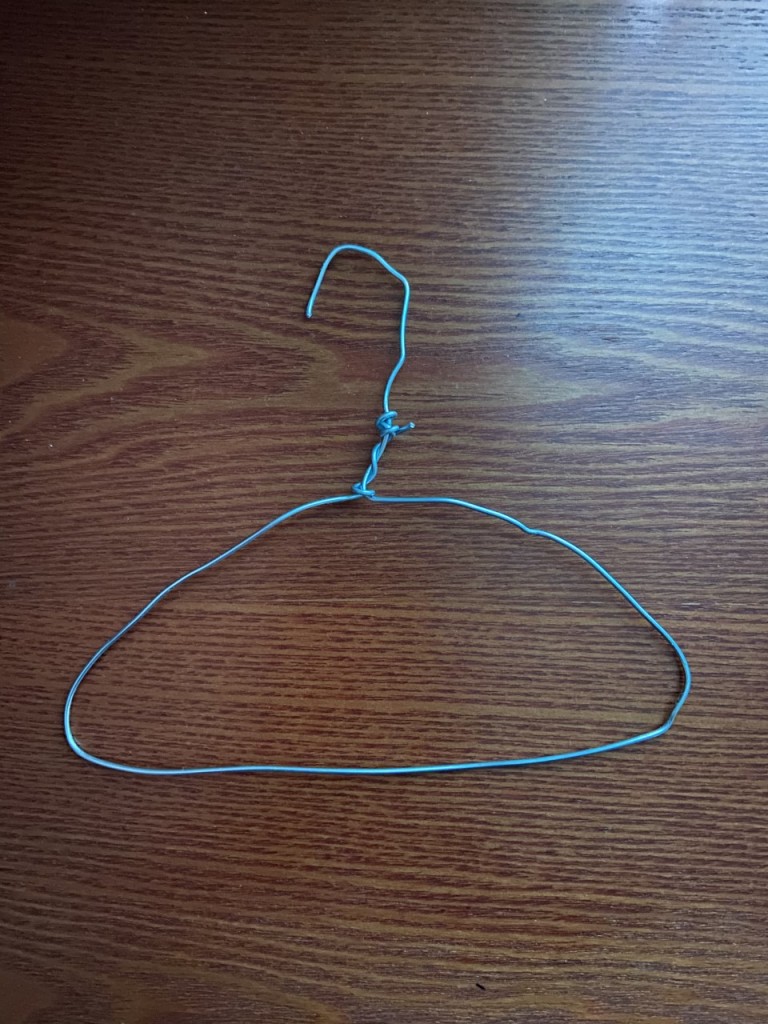
- Angle the wire back up toward the hook and wrap it around the hook base to close the hanger.
- You can wrap the remaining length of the hanger around the hook base. If you still feel like you have too much leftover you can snip off the extra with your pliers.
- Use your hands and the pliers to smooth out any lumps or imperfections in your hanger.
- Use the pliers to loop the end of your hook inward so it’s not pointy.

Leave a comment